Master the Art of Augusta Sod Installation: A Comprehensive Guide
Key Takeaways
- Choosing the right type of grass for your climate is the first step for success.
- Prepping the ground includes clearing debris, leveling the surface, soil testing, and fertilization.
- Proper techniques for laying down the sod involve tight positioning, precise cutting, and firm pressing into the soil.
- Watering and maintenance, including monitoring moisture levels and sunlight exposure, are essential for sod health.
Why Sod Installation is the Way to Go
There’s no denying it, installing sod, is truly the way to go if you’re after a perfect, green lawn that screams curb appeal without the wait time seeds require.
The benefits of sod are undeniable; besides providing instant beauty and grassy comfort underfoot, it’s also a long-lasting solution.
Yes, the installation costs might be more upfront than seeding, but consider this: With sod’s longevity and ease of maintenance, those initial dollars spent will pay off handsomely in the long run.
Its environmental impact can’t be overlooked; sod helps control erosion and improve air quality too!
Know Your Grass Types

Understanding your grass types is key to health, especially in the southern heat of Augusta. Grass identification goes far beyond knowing what looks nice; it’s about understanding which species will flourish in your specific climate considerations.
- Bermuda: Known for its heat tolerance and disease resistance, perfect for Georgia’s hot summers.
- Zoysia: Adapts well to various soil types and requires less mowing than Bermuda.
- Centipede: An excellent all-year-round choice with low maintenance needs.
- St. Augustine: Tolerates shade better but requires more care toward grass disease prevention.
Remember, seasonal selection plays an essential role, too; some grasses are best installed in spring, while others thrive when planted in fall.
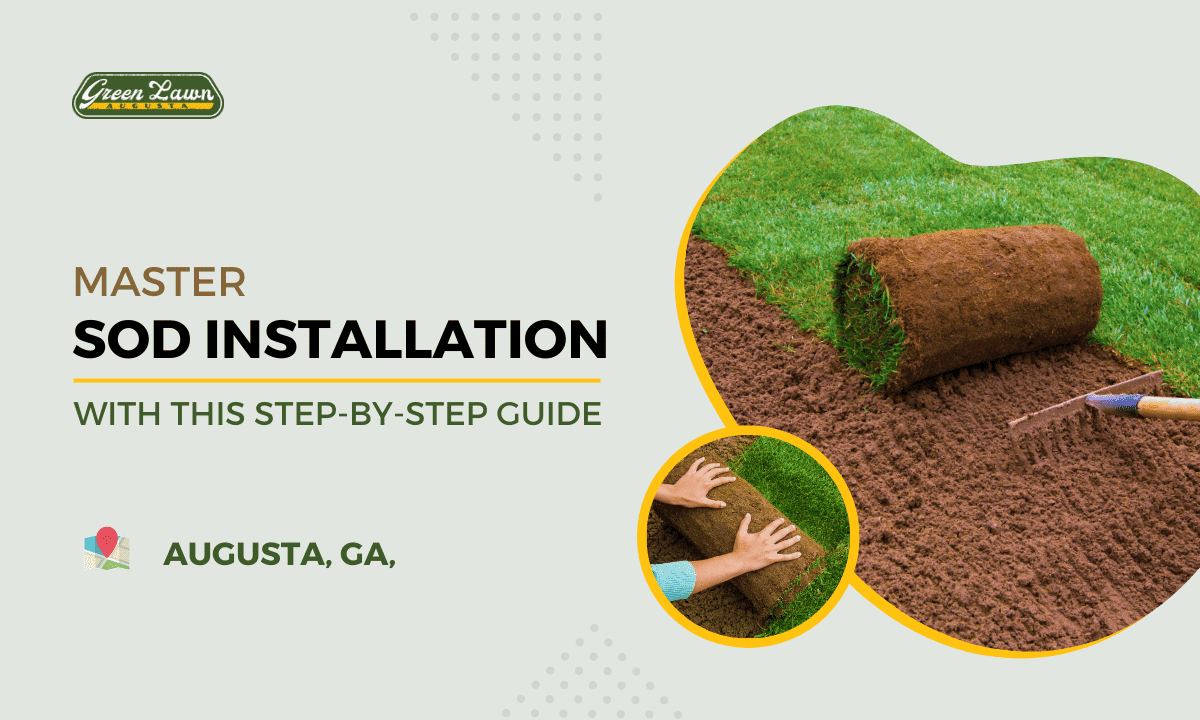
Step-by-Step Sod Installation Guide

Ready to transform your yard with a vibrant, green carpet of grass? The step-by-step guide on sod installation.
Step 1: Prep Your Lawn

The first step involves removing old grass and clearing debris. This prevents pests and ensures the new sod has room to grow. Choosing the right tools for this task is vital; a garden rake or shovel should suffice.
Understanding soil composition is another critical aspect of preparation. It helps identify what amendments your lawn may need for optimal growth. The importance of site leveling cannot be overstated either; it guarantees uniformity in your lawn’s appearance and function.
Once you’ve achieved these initial steps, you’re geared up for the next stage, which delves into understanding more about soil testing and fertilization, ensuring the best foundation for your new sod.
Step 2: Soil Testing and Fertilization

Now that you’ve prepped your lawn, it’s time to dive into the nitty-gritty of soil testing and fertilization. Understanding soil pH is important to navigate your fertilizer selection.
| Soil pH Importance | Nutrient Requirements | Fertilizer Selection |
| Determines nutrient availability. | Nitrogen, Phosphorus, and Potassium are vital. | Choose based on Soil Test results. |
Organic composting can be an excellent method to enhance soil fertility naturally. Aeration techniques improve soil structure for better nutrient absorption.
Remember, Augusta’s tricky soil requires keen attention. The right balance of nutrients ensures healthy sod growth.
As you consider these factors and adjust accordingly, look forward to the next stage, where we’ll get hands-on with laying down your fresh sod properly.
Step 3: Lay Down the Sod

It’s your turn to get dirty by rolling out the green carpet, ensuring each piece is snug and the roots bond well with the soil.
Start with sod positioning; lay it down tightly against each other without overlaps. Strive for a brickwork pattern; its staggering lines will help avoid visible seams.
Your cutting techniques should be precise; use a sharp knife to shape pieces around curves or against edges. Sod integration is crucial; press it firmly into the soil beneath to facilitate root establishment. Use a lawn roller half filled with water for this purpose. Mind your overlapping strategy; too much can hinder growth and create uneven patches.
After you’ve laid all the sod, transition into hydration mode – watering thoroughly yet gently while keeping a keen eye on its progress.
Step 4: Water and Monitor

Once you’ve rolled out your green carpet, you’ll want to switch gears to watering and monitoring, ensuring that each blade of grass gets the nourishment it needs to thrive.
Pay close attention to watering frequency; your new sod requires generous hydration during the first few weeks for optimal growth and moisture retention.
Keep a vigilant eye on sunlight impact, too – while the sun benefits photosynthesis, excessive exposure can quickly lead to drought effects.
Adjust your watering routine accordingly to minimize any potential harm.
Remember, maintaining ideal moisture levels not only quenches your lawn’s thirst but also promotes disease prevention by creating an unfavorable environment for pathogens.
Pro Tips
First off, tool selection is crucial. Using the right instruments will help prevent installation pitfalls and boost your sod longevity. Seasonal considerations are also key; know when to install for optimal growth.
Think about maintenance techniques too. Remember, don’t mow too soon or let your sod dry out – these could damage new roots trying to establish themselves. Aerate your lawn before installation for better root growth.
Let the Pros Handle It
Why not sit back, relax, and let the professionals care for your sod installation in Augusta, GA. Experts have several professional advantages:
- Cost comparisons: Initially, DIY may seem cheaper but consider potential errors that could ramp up costs. Professionals ensure a job well done at an agreed price.
- Time efficiency: The pros have honed their skills. Hence they can install sod much faster than you’d manage independently.
- Quality assurance and maintenance post installation: Pros offer guarantees for their work. They’ll follow up to ensure the sod thrives and guide you on subsequent care.
Hiring a Augusta landscaping pro Green Lawn Augusta isn’t just safe—it’s smart too! Let them handle it for unbeatable results.
Conclusion
Remember, choosing the right grass type for your soil is important for the health of your turf. After all, nothing beats beautifully manicured grass that’s been installed just right! If you’re ready to dive deeper, check out this helpful guide to lawn aeration in Augusta for expert insights and tips from trusted national experts.
Frequently Asked Question on Sod Installation
What should I put down before laying sod?
Before laying sod, prepare the ground by removing any rocks or debris, then adding topsoil and compost.
Should I wet dirt before laying sod?
It’s advisable to moisten the soil before laying sod to help the roots establish more quickly.
How long after installing sod can you walk on it?
You should avoid walking on new sod for at least two weeks to allow the roots to establish.
Can you install sod by yourself?
Yes, laying sod is a straightforward process that can be done alone, though it can be physically demanding.
What time of year is best to lay sod?
The best time to lay sod is in early fall or spring, when temperatures are mild.
Can you lay sod without tilling?
While it’s possible, it’s generally better to till the soil for best results.
What to do immediately after laying sod?
After laying sod, water it thoroughly and keep it moist until it roots.
How long does it take sod to root?
Sod typically takes about two weeks to root.
Which is better sod or grass seed?
Both have pros and cons. Sod provides instant lawn, but is more expensive. Grass seed is cheaper, but takes time to grow.
Can you put sod over existing grass?
While it’s possible, it’s not recommended as it can lead to uneven growth and disease.
How often do you water sod after laying?
Water new sod at least once a day for the first week, then gradually reduce.
Does sod grow back every year?
Yes, sod is a type of grass that will regrow every year if properly maintained.
Does sod look dead at first?
New sod may appear brown or yellow at first, but should green up with proper care.
How long does sod last?
If properly maintained, sod can last indefinitely, providing you with a beautiful lawn year after year.